Starting your curly or wavy hair journey can be exciting, but it often comes with challenges, especially if you're transitioning from heat-damaged hair. Embracing a new curly hair routine requires patience and understanding that achieving healthy curls takes time. Here’s a step-by-step guide with Curlit to help you through this curly hair transition phase while I share my personal experience.


1.Addressing Heat Damage: To Chop or Not to Chop?

When starting your curly/wavy hair journey, one of the first decisions you’ll face is whether to go for a big chop or gradually trim the damage away. If you’ve been using heat regularly, your curls may have lost their natural shape and bounce.


  • Big Chop: If you're ready for a fresh start, consider a big chop at a professional curly salon. This will remove all the damaged ends, allowing your natural curls to grow, and this what I have decided to go for as you see the difference in the length between both image on the left and the right

  • Gradual Trimming: Not ready for a big chop? You can opt for a more gradual approach by trimming about 1.5 cm of your ends each month. This method allows you to maintain some length while slowly eliminating damage.

  •  

2. Baby Steps: Start with the Basics

One of the most overwhelming parts of my journey was figuring out which products and tools to use. I remember standing in the beauty aisle, staring at rows of products, not knowing where to start. I quickly learned that less is more. It's easy to get overwhelmed by the amount of hair products and tools you see on social media.

However, starting with a few essential items is more effective:

  • Water Bottle: Buy a continuous-flow water bottle 
  • Stain bonnet and scrunchie: To help you with protecting your hair  
  • Detangler Brush: Invest in a good detangler brush, like a Flexi Brush, Wet Brush, or Tangle Teezer. These brushes help with detangling and styling, reducing breakage and making your curls more defined. 

  • Leave-In Conditioner & Gel: Start with a quality leave-in conditioner (like the one from Curlit) and a gel to lock in moisture and hold your curls in place. These two products will form the foundation of your hair care routine.  

Curl Perfection Duo

58.00 $ CA

Wave Perfection Duo

58.00 $ CA

Ultimate Hair gel

Holdin' you tight

28.00 $ CA

Wavy leave-in conditioner

Your Biggest Flex

30.00 $ CA

Curly leave-in conditioner

Your Biggest Flex

30.00 $ CA

3. Styling Tips: Perfect Your Technique

Another key point is styling my curls was a learning curve. I experimented with different techniques. At first, my results were inconsistent, but with each wash day, I learned something new about my hair. Now, I’ve settled into a routine that works for me, and it feels great to have found a technique that enhances my natural texture.

The basics
الأساسيات

  • Sectioning & Wetting: Begin by sectioning your hair and making sure it's super wet. Apply a dime-sized amount of leave-in conditioner to each section, raking it through to ensure even distribution. Follow up with gel to define your curls.

  • Experiment with Techniques

    • Brush Styling: Use a brush to help shape and define your curls. (Video)
    • Finger Rolling: Works well for wavy hair. Twirl small sections of hair around your finger to create defined curls. (Video)
    • Rake and Shake: Rake the product through your hair and then shake out the curls for a more natural, voluminous look. (Video1 and Video2)
    • Flexi Rod: If you're looking for more defined curls with a uniform shape, Flexi Rods can be a great option. However, I recommend using them as a last resort. They are the hardest to master and can be time-consuming.(Video)
  • Air Dry: For the starting point allow hair to dry, do not use a diffuser or microfiber yet
  • Pineapple: Put your hair in pineapple using stain scrunchie and then use the bonnent
  •  

4. Patience is Key

In reality, I can’t stress enough how important patience is during this journey. There were times when I felt frustrated because my curls didn’t look the way I wanted them to. But over time, I started to appreciate the process and the gradual transformation of my hair. It was empowering to see my natural curls emerge, even if it took a while to get there.

Pictures from 2019 to today 2024


Treat Yourself: Salon Visits

Throughout my journey, I made sure to treat myself to professional styling at a curly hair salon every few months. It was not only a treat but also a great way to learn new techniques from experts.


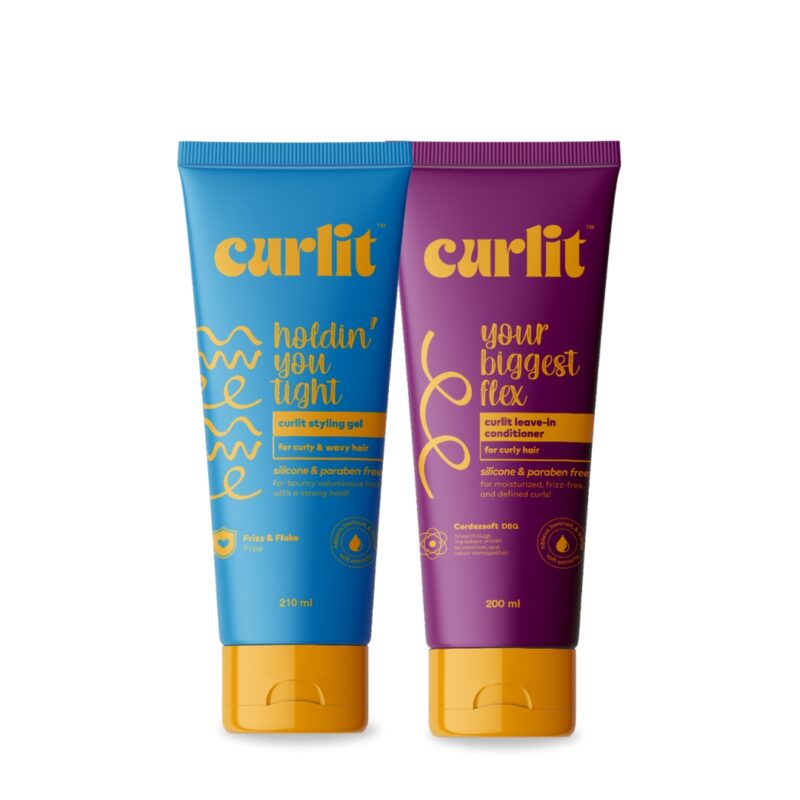
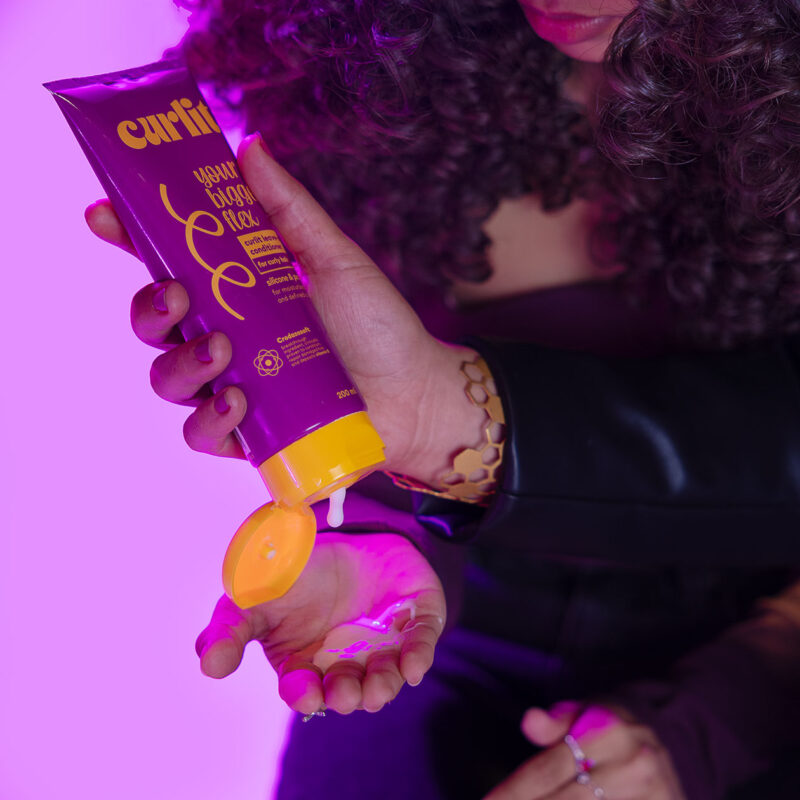
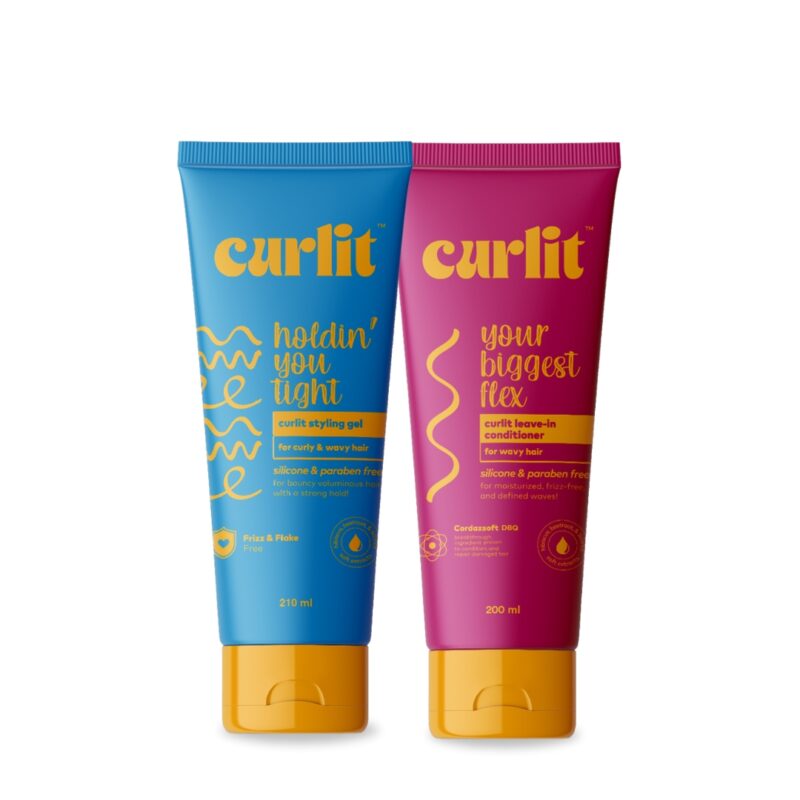
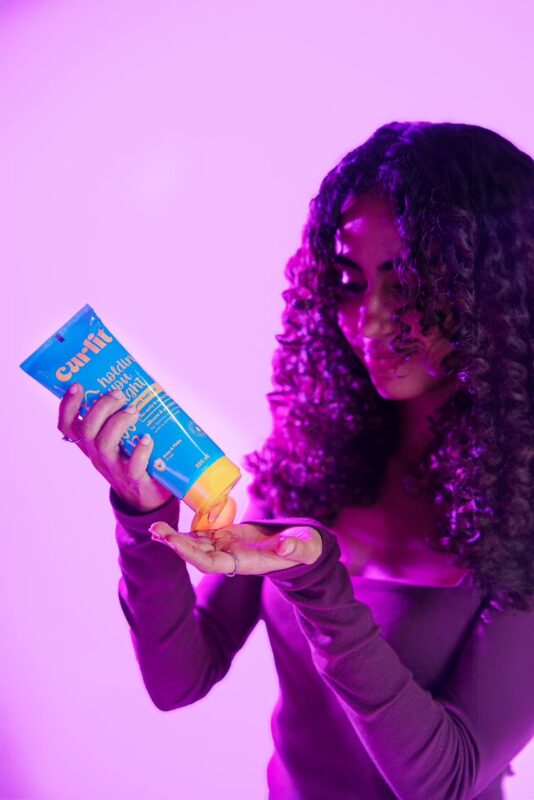
Transitioning to healthy curly or wavy hair is a journey that requires patience, experimentation, and a lot of self-care. Whether you're dealing with heat damage, learning to style your hair, or figuring out the right products to use, remember that each step brings you closer to embracing your natural texture. Start with the basics, be gentle with your hair and yourself, and take your time finding what works best for you. Every curl is unique, and so is your journey.

If you have any questions or need advice on your curly/wavy hair journey, feel free to leave a comment below. We’re here to help and will be happy to answer any questions you might have!


Leave a Reply

Your email address will not be published. Required fields are marked *